Tuesday 26 April 2011

First Veggie Box Built

The first veggie box is officially built and is looking awesome! It was quite a simple process and all of the wood slotted together really nicely. We opted for pre-treated wood so it would have no trouble with the elements when left outside. The overall size of the box is as pre-planned, 1ft (w) x 3ft (l) x 1 (h) and is large enough to grow a good selection of different plants. Of course you are never going to be able to supply a farmers market stall from a box this size or even give up on your shopping in Tesco's but what it does do is give a good insight into vegetable growing. Lessons learnt from looking after this box will hopefully inspire the participants of the program to go bigger and start to grow more of their own food.

So back to the box and a little more about the construction. After i put together the four sides and bottom, i lined the inside with polythene. The reason for this is really only to give the wood a longer life and reduce the exposure of the wood to constantly wet soil.

Of course with the box being filled with compost and plants the need for water will be and issue if the box does not have any drainage. I took a large drill bit and drilled a number of holes along the bottom of the box to let the water seep through.

When you introduce the compost be sure to give it a real good soaking. This will prepare it well for the new plant.


Taking the plants from the seedling trays is a really easy task. Just pop your finger through the bottom to release the plant and drop into the hole prepared by poking your 2 fingers into the soil. There is a ideal spacing for these plants but to maximize the space i'm just going for 9 plants per square foot.

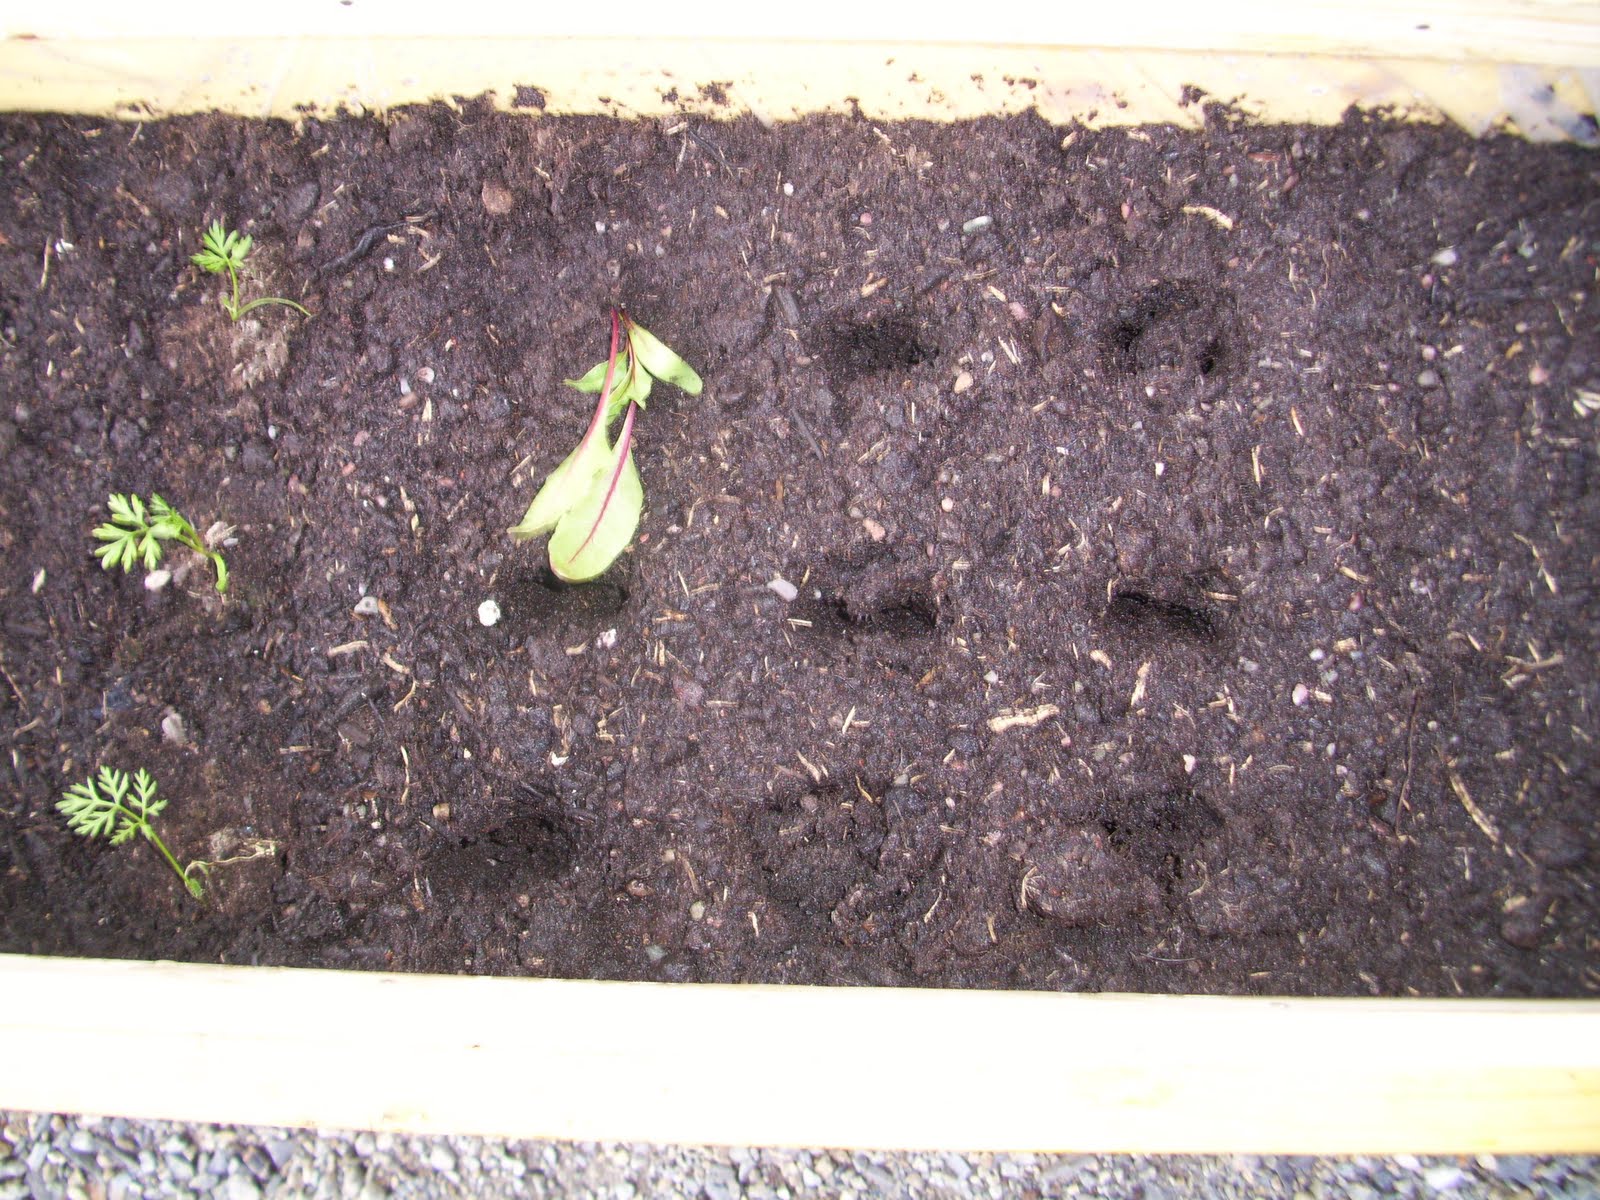
Water again afterwards to make sure that there are no spaces around the roots. This is very important because the compost must be compact around the roots to avoid root rot etc.

Thursday 14 April 2011

Coming along nicely!!

The seedlings have had a few weeks since i planted them and they are really coming on good. The lettuce was a little droopy and wasn't too sure what was going on so i moved them into a bigger pot and everything seems to be improving. I am always looking in on them, even if i know there's going to be no change.


The wood arrived today for the boxes, so that means i will be busy cutting and organising for the first class. I intend to leave it so that the participants can screw the wood together and get hands on experience making everything themselves. The boxes are going to be so handy for the growing and will also be suitable for bringing indoors when the weather isn't so good.

Planting a Seed

So the first steps for the process in getting the vegetable program up and running was to get a head start on some of the vegetables that take a longer time to grow. Getting the seedlings germinated early means that the full length of the growing season can be utilised. Planting a seed is a very basic process and the packets of seeds come with instructions on the back. I have a small porch at the front of my house which has some nice big windows, giving enough sun light and warmth for the seeds to have a good chance of germination.If you have a greenhouse or poly tunnel, well lucky you and by all means use it!

germination is just simply the process of the seed being planted into the compost, dying and the new plant emerging. This sounds like a pretty mundane process but believe me when you see your wee seedlings pushing up through the compost, there is a great sense of achievement and an ownership to something you helped create.

Seedling Trays: So firstly we just bought some cheap trays with about 40 sections in each. These are really good because when it comes to moving them on to their final destination, you can take the block of compost out and replant it without disturbing the root system too much. Its a good idea to prepare some water the night before in a container because it takes 12 hours for our ordinary tap water to loose the chlorine. Chlorine is not very good for the new seedling as it will damage the sensitive seed.


Compost:Use a seed starter compost which really just a very fine mix with very little lumps and and other larger organic matter. You can use your own compost or manure but I found that the germination rate (number of seeds to actually produce a plant) was a lot lower. These bags of compost are a very reasonable price and because you don't need a lot of it to fill the small trays its well worth it.

What Is field to fork?

Field to fork is a community development program being run by the Upper Bann Vineyard centre to bring people together as a 'community'. Field to fork will encourage and empower people to grow their own fruit and vegetables and also learn about related topics along the way. These topics will include a wide variety of current affairs such as self-sustainability, green energies, organic growing methods amongst many others.

The first and current project that we are embarking on is the veggie box program. This will bring a number of people from the local community in Portadown to partake in a series of lessons which will teach parents and children the benefits of growing their own produce. They will be provided with the resources to produce their own 3ft by 1ft wooden vegetable box, which will grow a variety of different vegetables to their liking. Each step of the process will be covered from seed planting through to harvest and storage.

I have already started to plant some seeds so that we can hit the ground running. I will post pictures of the different stages along with anything else i think may be relevant and interesting reading for anyone thinking of replicating what we are doing.

Thanks for reading the first of many!!!!!!!!!